
-
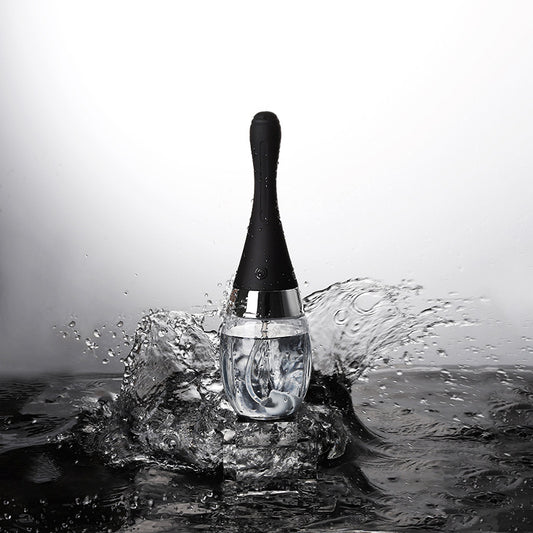
Rechargeable Anal Douching Enema Cleaner
Regular price $38.99Regular price -
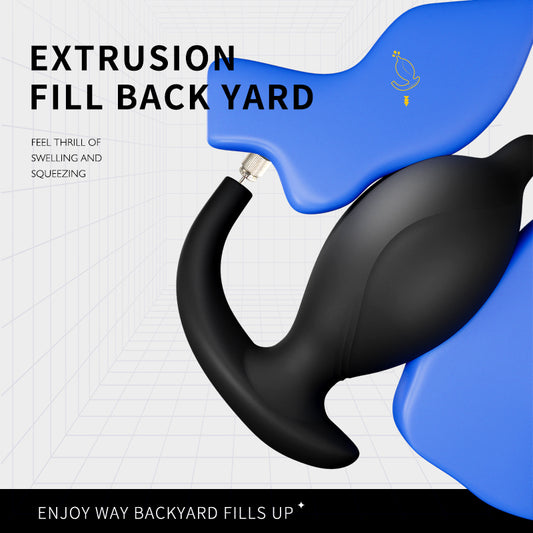
Inflatable & Detachable Enema Plug
Regular price $22.99Regular price -
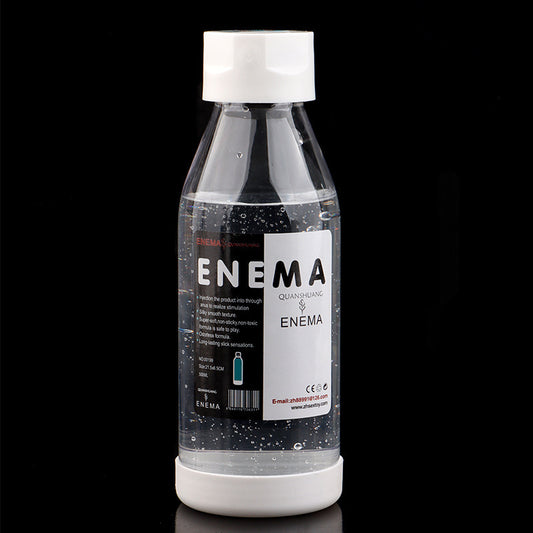
Deep Clean Enema Cleanser Water – 600ml Hygiene Solution
Regular price $29.99Regular price -
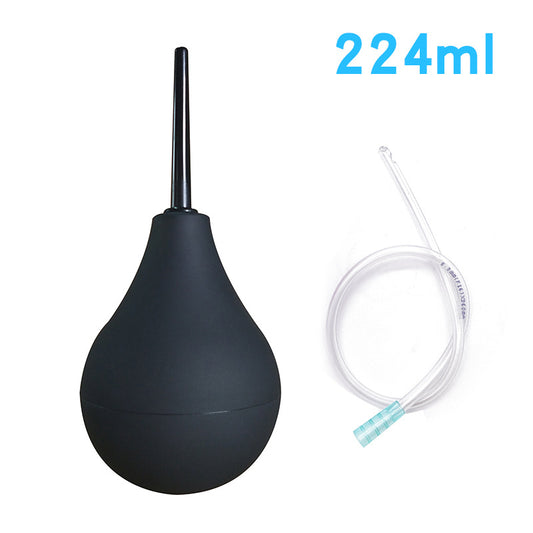
224ML Medical Silicone Enema Bulb
Regular price $11.99Regular price -
2L Enema Douche Anal Cleaning Bag
Regular price $32.99Regular price -
Enema Inflatable Anal Congestion Anal Cleaning Device
Regular price $26.99Regular price -
Silicone Head Shower Enema Douch Kit
Regular price $39.99Regular price -
Vibrating Enema Cleaner VibriClean Pro - USB Rechargeable
Regular price $47.99Regular price -
Premium Shower Enema Set with Silicone Tips
Regular price $69.99Regular price -
Enema Cleaner Shower Head
Regular price $23.99Regular price -
Aluminum Shower Enema Douch Wand and Tube
Regular price $39.99Regular price -
Soft Ball Cleaner Enema Anal Rinser
Regular price $11.99Regular price -
Enema Inflatable Anal Cleaner
Regular price $19.99Regular price -
Enema Anal Cleaning Tube
Regular price From $17.99Regular price -
Silicone Enema Cleasing Douch
Regular price $10.99Regular price -
Syringe Anal Private Part Enema
Regular price $14.99Regular price -
Syringe Anal Enema Cleaner
Regular price $14.99Regular price -
224ML Medical Silicone Enema Bulb
Regular price $15.99Regular price -
Electric Enema Cleaner Bulb with Multiple Spray Modes
Regular price $56.99Regular price -
Portable Automatic Enema Cleaner
Regular price $64.99Regular price





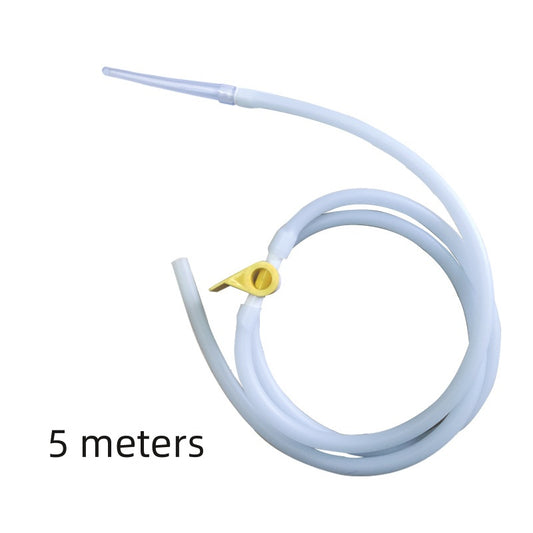

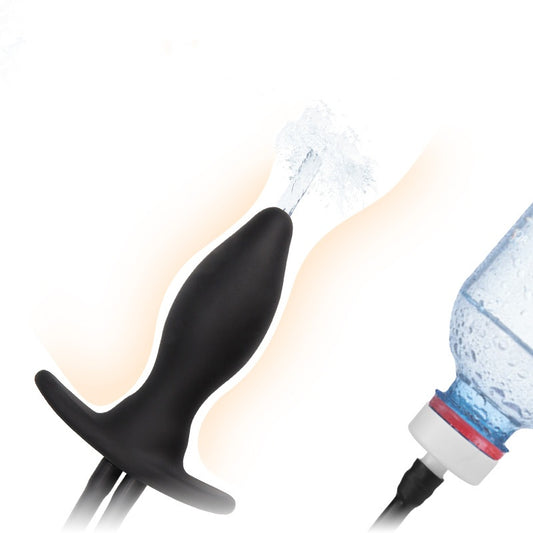

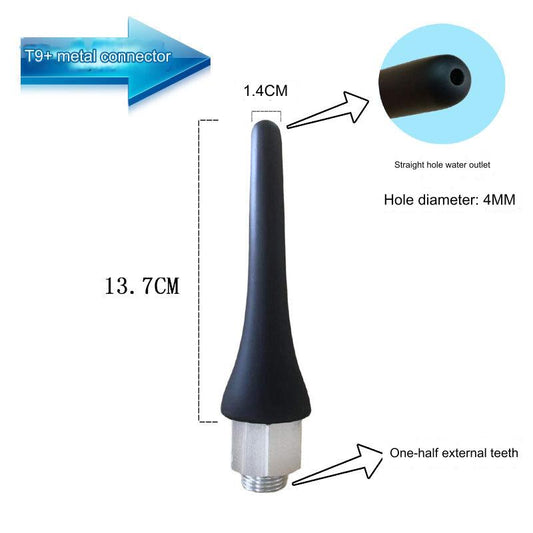

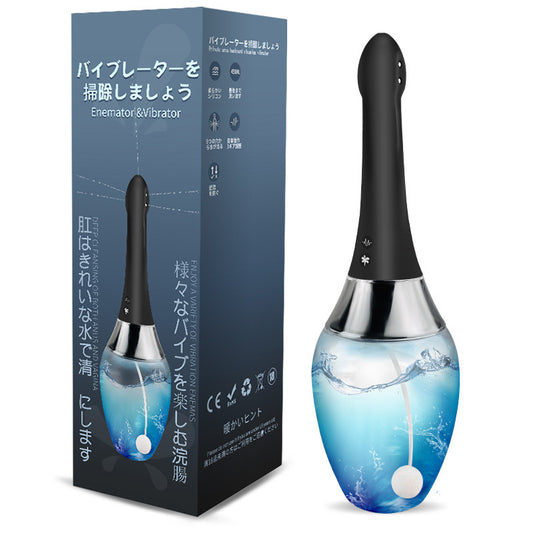





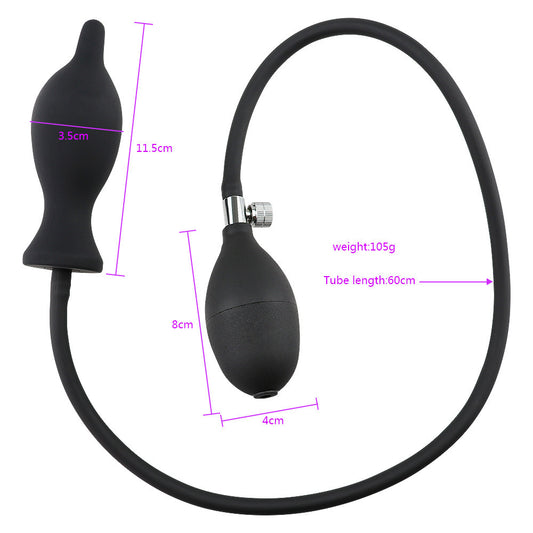

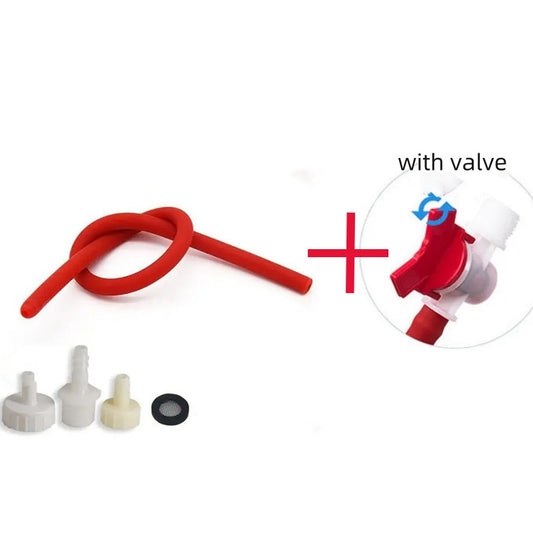

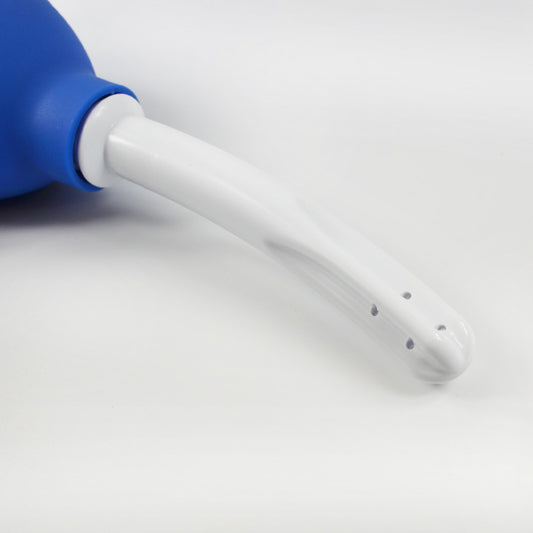

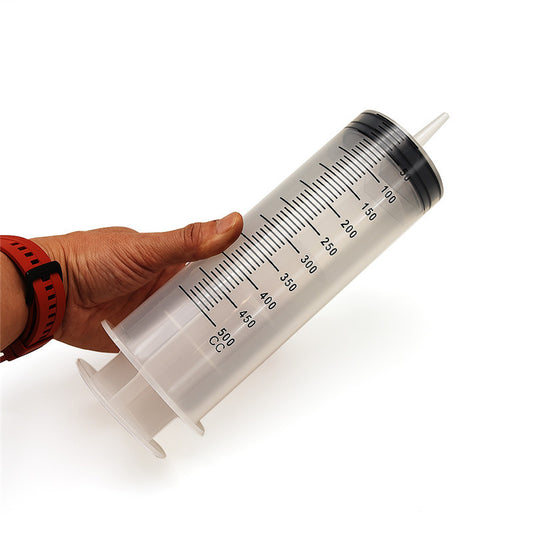




Your enema cleaner works only as well as the care you give it after each use. Your bucket needs to be rinsed really well and dried completely because leftover tap water deposits can damage stainless steel surfaces over time. Bacteria and residue build up quickly, so proper hygiene for your enema cleaner kit is essential to safe, repeated use.
This piece covers what you need to know about your enema bulb cleaner, including the best cleaning solutions, how to use enema cleaner tools properly, and the sterilization steps that keep your equipment safe. You'll also learn how to care for your enema kit cleaner so it lasts longer and supports your health.
What Is an Enema Cleaner and Why It Matters
An enema cleaner refers to soaps, disinfectants, and sanitizing solutions used to wash enema bulbs, buckets, tubing, and nozzles between sessions. What’s an enema cleaner good for, you might ask? It prevents bacteria from building up on equipment that comes into internal contact with your body. This matters because more than 20% of hospital patients need an enema at some point during their stay. That level of use, whether at home or in clinical settings, makes a reliable cleaning routine essential.
Understanding Enema Equipment Hygiene
Unclean equipment can introduce bacteria directly into your body during an enema, which raises the risk of infection, especially if you have a weakened immune system. Equipment hygiene is not optional. The rectum and colon contain sensitive tissue, and residue from stool, lubricant, or old solution can become a breeding ground for microbes. That is why every part of your enema kit cleaner routine, from the nozzle to the tubing, needs careful attention instead of a quick rinse.
Types of Enema Cleaners Available
Several products can work as enema douche cleaners, though some are more suitable than others:
- Non-toxic coconut oil soap, recommended to wash nozzles, bags, and buckets without damaging the materials
- Grapefruit Seed Extract, used as a non-toxic sterilizing agent after soaking equipment in hot water for 15 to 30 minutes
- Hydrogen peroxide and white vinegar, both suitable for silicone tubing and stainless-steel buckets
- Specialized enema kit cleaner products, such as Happy Bum Clean, created for bulbs and bags
- Essential oils like tea tree or eucalyptus, sometimes used as alternative disinfecting options
Learning how to use enema cleaner products correctly begins with matching the solution to the material you are washing. Harsh soaps and solvents can shorten your equipment’s lifespan.
Health Benefits of Proper Cleaning
Proper cleaning helps prevent infection, which is a documented risk when enema materials are not sanitized between uses. It can also help prevent bowel inflammation and colitis, which contaminated equipment entering the colon may trigger. Consistent care also helps your enema bulb cleaner routine extend your kit’s working life, since mold and bacterial buildup often cause equipment to fail early.
Overall, an enema cleaner routine serves two purposes: it protects your health now and saves money over time by keeping your equipment usable for months or years instead of weeks. Cara menggunakan enema cleaner tools properly is not about complicated steps. It comes down to cleaning them consistently after every use.
Different Types of Enema Equipment to Clean
Each part of an enema cleaner kit needs its own cleaning method because materials respond differently to heat, chemicals, and wear.
Enema Bulb Cleaner Requirements
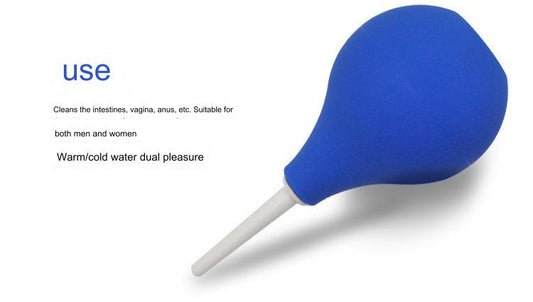
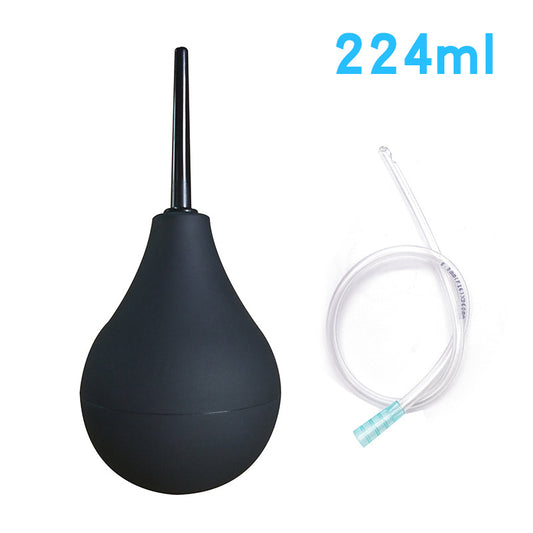
Enema bulbs are reusable rubber or silicone devices. A flexible nozzle tip is usually more comfortable than a hard plastic tip. Material also affects enema bulb cleaner options because latex, rubber, silicone, and PVC react differently to sanitizers. Cracks, stickiness, swollen rubber, or lingering odors mean it is time to replace the bulb. Frequent users and immunocompromised people should replace it every 6 to 12 months.
Enema Bucket Materials and Cleaning Needs
Glass and stainless steel buckets are the easiest enema containers to clean. Glass can handle soap and water, hydrogen peroxide, or vinegar. It can also go through a dishwasher cycle, followed by a rinse. Stainless steel, especially 304 food-grade steel, tolerates the same cleaning solutions but requires complete drying afterward because moisture can leave toxic deposits on the metal. Disposable plastic buckets break down faster and are best for limited, short-term use.
Silicone Tubing Maintenance
Silicone tubing can be cleaned with white vinegar, soap and water, or hydrogen peroxide. Drop it into boiling water for 4 to 5 seconds to sterilize it, but never boil attached plastic nozzles or clamps. Medical-grade platinum silicone tubing contains no BPA or latex and can last about 2 years with regular care.
Nozzle Tips and Attachments
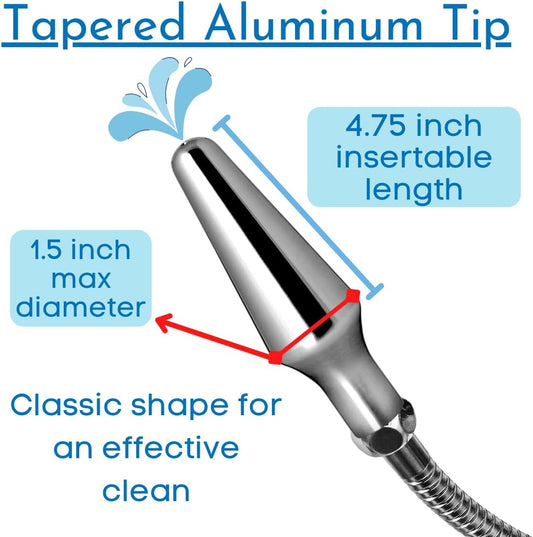
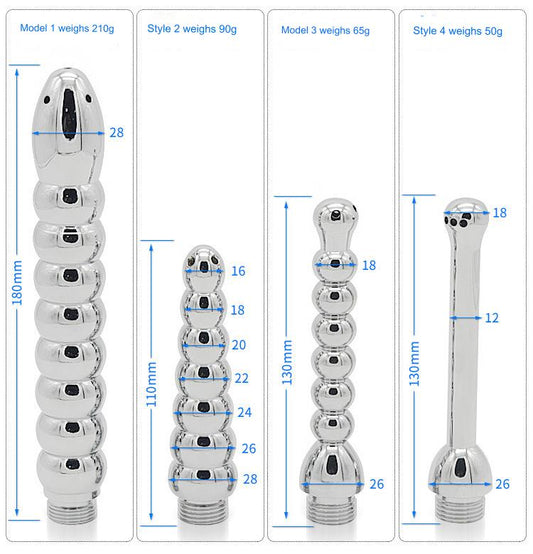
Remove nozzle tips from the tubing and swish them in hot, soapy water. Clear both ends with a nylon cylinder brush. A cotton swab with rubbing alcohol, vinegar, or hydrogen peroxide can clean the inner and outer surfaces. Non-porous, rust-free stainless steel nozzles can be placed directly in boiling water for a deeper clean.
Colon Tubes: Disposable vs. Reusable
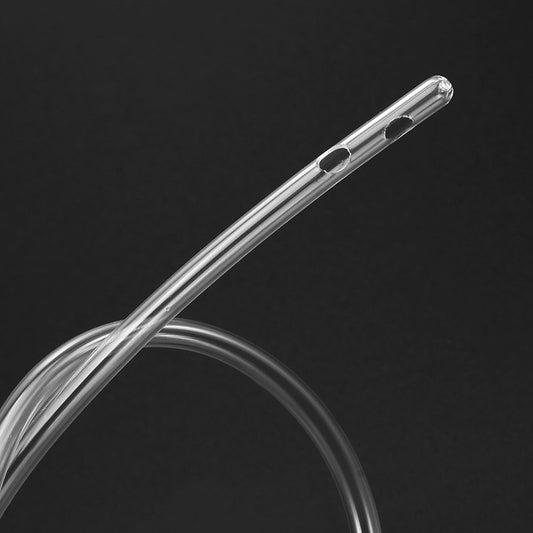
Colon tubes extend farther into the colon than a standard nozzle and often measure 16 inches or longer. Disposable versions are intended for 1 to 3 uses. Rinse them with soap and water or vinegar before disposal. Reusable silicone colon tubes can handle vinegar, hydrogen peroxide, or soap and water, along with a quick 3-second boil to sterilize them.
How to Clean Your Enema Kit: Step-by-Step Guide
A truly clean enema kit needs more than a quick rinse. Each step addresses a different risk, from leftover residue to microscopic bacteria.
Cleaning Solutions That Work Best
Mix non-toxic coconut oil soap with hot water to clean nozzles, bags, and buckets without damaging the material. Avoid harsh soaps and solvents because they reduce the equipment's lifespan. Never put enema equipment in a dishwasher.
Hydrogen peroxide or white vinegar diluted with water can also clean tubing and nozzles. Mineral-based powders with sodium percarbonate and bicarbonate remove stains and mold without bleach.
Daily Cleaning Routine After Each Use
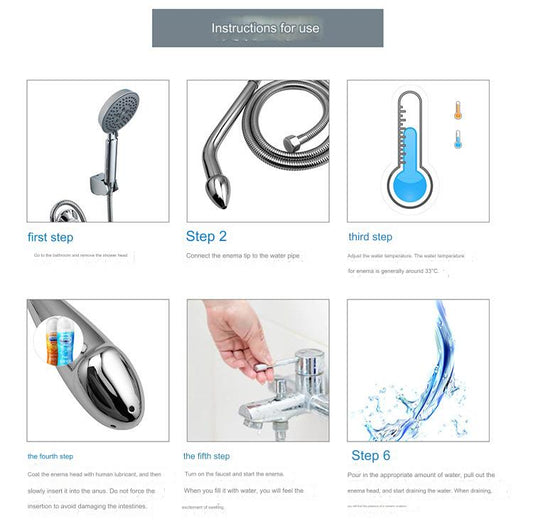
Rinse the equipment with warm water right after use before residue dries. Remove the nozzle, swish it in soapy water, then clean both ends with a nylon brush. Empty the bag or bucket and run hot, soapy water through the tubing's full length.
Deep Cleaning Methods for Complete Sanitization
Soak the kit and tubing in a tub overnight for a deeper clean. Add 5 drops of Grapefruit Seed Extract to each cup of hot water, then leave the equipment to soak for 15 to 30 minutes. Soak nozzle tips every few weeks to prevent contamination buildup.
Sterilization Techniques for Different Materials
Silicone tubing can be sterilized with a 4-second dip in boiling water. Colon tubes need only 3 seconds. Clean nozzles with a cotton swab dipped in rubbing alcohol, vinegar, or hydrogen peroxide.
Drying and Storage Best Practices
Hang the equipment to dry for one or two days. Place a wadded paper towel inside the bag or bucket afterward to absorb any remaining moisture. Dry stainless steel buckets completely because tap water deposits can damage the metal surface.
Common Cleaning Mistakes to Avoid
Skipping the drying step can cause mold. Mold is different from the harmless staining that coffee enemas may leave on silicone. Harsh scrubbers inside buckets and dishwasher cycles can also damage equipment faster than hand cleaning.
Safety Tips and Maintenance Guidelines
Your enema cleaner kit's safety depends on regular care, proper daily handling, and replacing worn parts at the right time.
When to Replace Your Enema Equipment
Replace hoses and tips every few months if you use them regularly. Replace them sooner if you notice discoloration. Bags usually last about three years before they need replacement.
Signs Your Equipment Needs Deep Cleaning
A check-flow valve can help because natural air suction may pull enema solution back into the tubing and introduce bacteria. Visible wear, cracks, or other damage to your kit mean it needs a thorough cleaning or replacement.
Preventing Bacterial Growth
People with weakened immune systems face a serious risk because bacteria from unclean equipment can cause infections their bodies may not fully fight. People with rectal prolapse, hemorrhoids, or previous bowel surgery should also take extra precautions because the risk of perforation is higher.
Safe Handling Practices
Wash your hands and wear gloves during the process. Boil tubes, nozzles, and connectors for at least 10 minutes to sterilize them, then rinse them with sterile or cooled boiled water. Use medical-grade, BPA-free materials, and stop using the equipment if you experience severe pain or dizziness.
Conclusion
A reliable enema-cleaning routine requires the right solution for each material. Rinse the equipment right away and let it dry completely after every use. Regular care and prompt replacement of worn parts help prevent infection and extend your kit's life.
Cleanliness is not a one-time task. It needs to become a regular habit. Follow these steps, and your equipment will stay safe, sanitary, and ready whenever you need it.